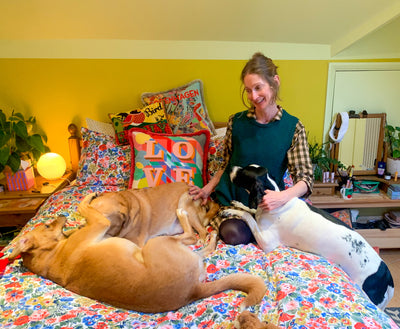
Making into a cushion
Tips for making your canvas into a cushion:
- If your canvas has got a bit grubby whilst stitching, you can gently wash it in cold soapy water.
- If it is misshapen from stitching I follow a process called 'blocking', which involves lightly spraying the canvas with cold water until it is damp, then stretching it whilst it is damp back into it's original shape. Then you pin it down to dry in shape. Iron when dry. There are lots of helpful videos of blocking on YouTube.
- I have lots of different velvets, linens and trims, these are cut to size depending on the canvas. If you need help choosing a colour drop me a message. There are also photos on the kit pages showing different backing fabrics against the finished canvas.
- I'm not the best sewer so I take my canvases to a seamstress to have them made into cushions. I find it helpful to include a little sketch. I go for a concealed zip at the bottom, the full length of the cushion so the pad fits easily. It should cost you approximately £30.

Making a cushion yourself:
No backing is needed on the tapestry before you turn it into a cushion. There are lots of tutorials online at www.youtube.com - but here are my written suggestions:
- With your square backing fabric, cut a strip off about 3 inches along the bottom, and re-attach to the main piece with a zip in between
- OPEN the zip!!
- Cut most of the excess canvas off the tapestry, leaving 1 cm around the perimeter.
- Put backing fabric down flat with outside fabric facing you. Place the tapestry face down on top of it.
- Pin the 2 pieces together.
- Machine stitch around the perimeter (or hand stitch). If you have an over locker, over lock as well. Remove pins
- Cut the 4 corners off at a 45 degree angle.
- Turn cushion inside out through the open zip
- Fill with a 50 x 50cm feather cushion pad. A bit of a squeeze to get it in, but makes it lovely and plump!

